Tuesday, August 19, 2014
The Loft, Cont...
I've made some pretty good progress on The Loft. It's nearly ready for crown molding. The whole media console piece will have to come in a phase II, but I'm gonna need a break anyway.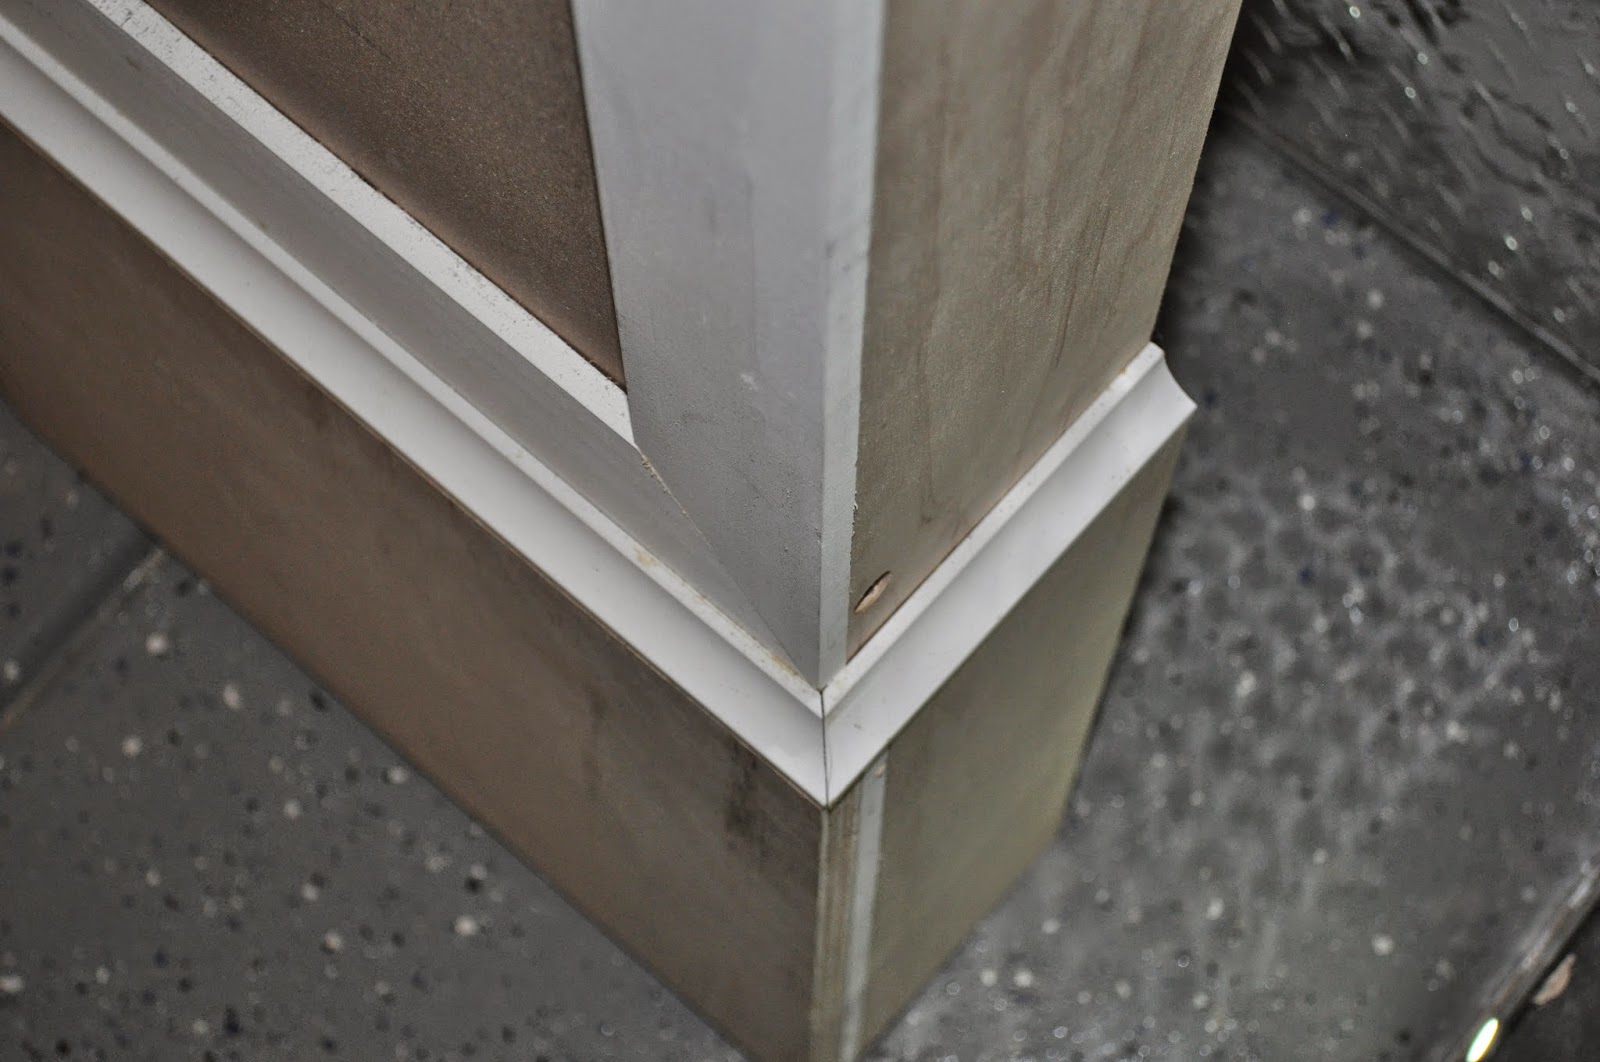
In the next picture, I needed to route a hole for the in-wall speakers. This is the first time I'd used a router, so it was a learning experience. The speakers came with a template so I could mark the hole, then the plunge router, with the right bit, would carve out the perimeter in a fairly straight line, with nicely rounded corners.


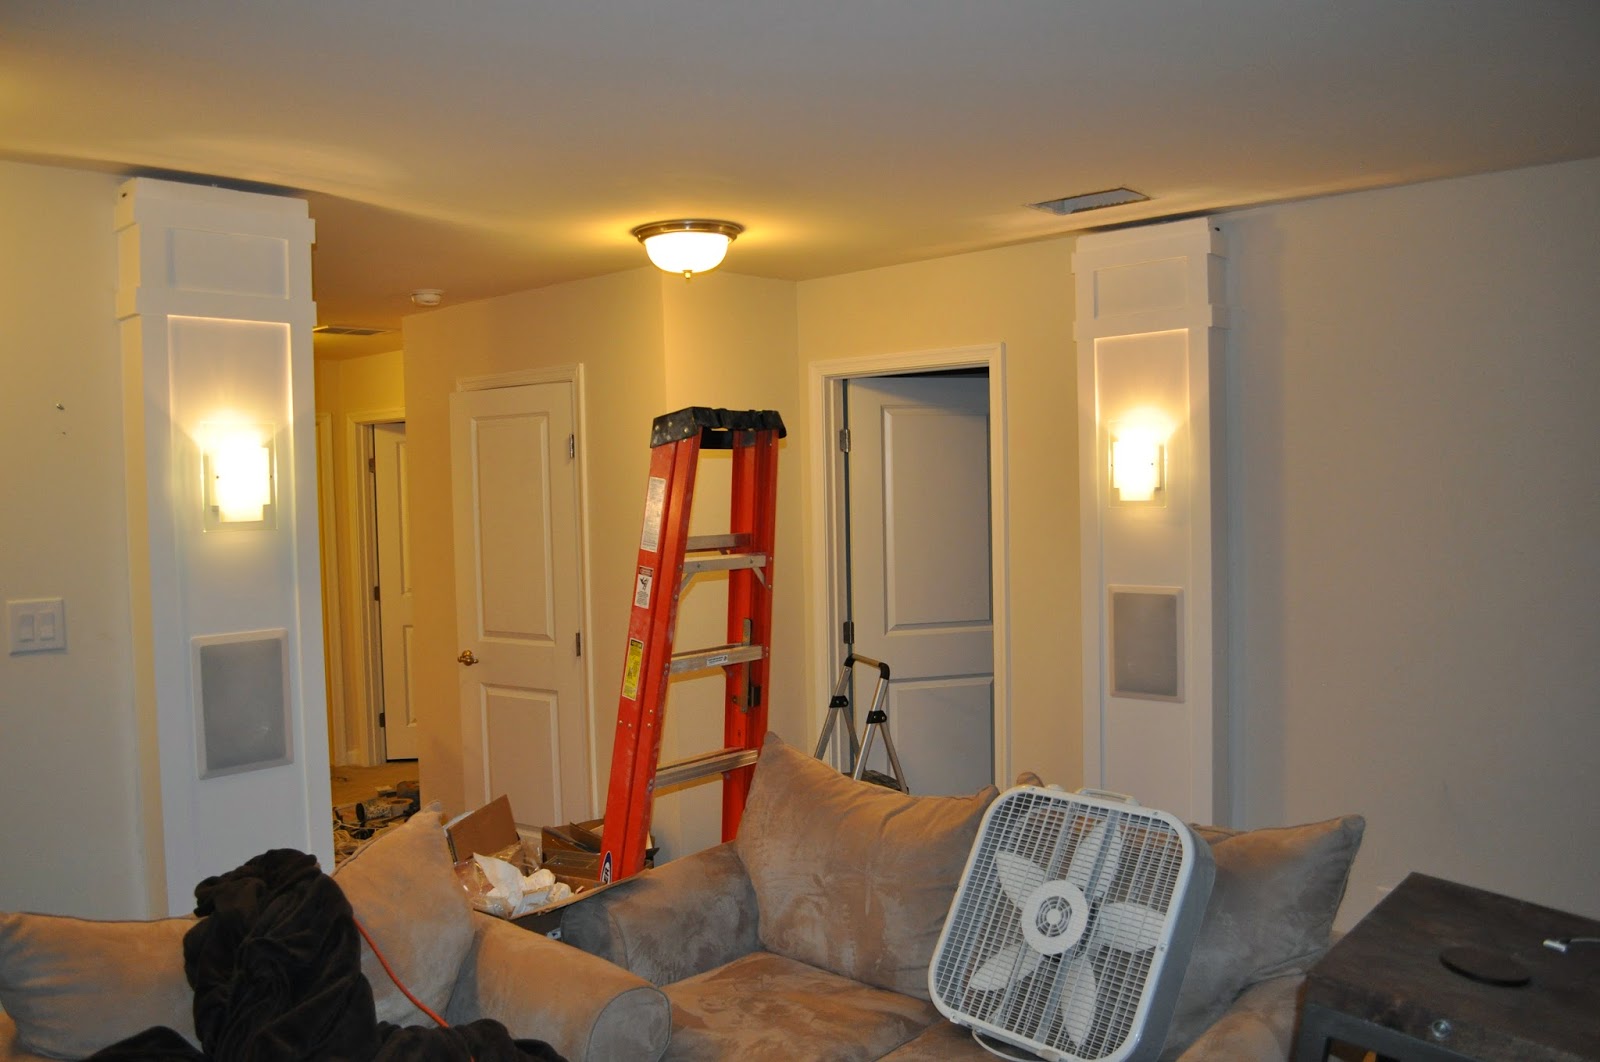
Here's me trying to figure out if the placement of the sconces will actually work. From the original Chief Architect render, this is about how high they were placed, perhaps even a little lower, but we didn't want to go too high, else they would crowd the upper trim and appear to close to the ceiling.

With all the holes cut, it was time to spackle in the gaps.


The next day I began priming, and the day after I began painting. Each column took 2-3 coats of priming and 2-3 coats of paint.


Each column fit the room within an inch of the ceiling. The gap was essential else you wouldn't be able to stand them upright. Once I was ready to put up the second column I realized I had a BIG problem. There are two ventilation ducts in the room, whose sole purpose is to balance out the pressure and temperature between this room, and the bedrooms on the other side. I had noticed the duct by the TV, but figured I didn't have to worry about that until phase II. But never really looking behind me, there was another for our daughter's play room. Moving a vent is not easy. After weighing out all the options, we decided to keep the existing flashing, cut it out from the ceiling, move it over to the next joist, cut a new hole, then patch up the original hole. The duct is connected by 8" diameter insulated tubing. I had to buy more at Lowe's because the existing tube was not going to stretch. The job took about 5 hours, and with the help of a good friend, we knocked it out.


Wiring was another monumental effort. The wall making up the laundry room had a single 4-way switch. This switch, and two others, one next to the stairwell, and one at the bottom of the stairwell, controlled 4 builder grade ceiling fixtures. Turning on/off any of these switches caused all 4 lights to go on/off. In our opinion, this was laziness on the part of the electrician. Why would you want the Loft lights to all come on, if all you are trying to do is walk up the stairs. Plus, if someone was watching a movie, then would be blinded!
So even before moving any of the columns up from the garage, I intended to break the two lights for the stairwell onto a separate switch (the switch at the bottom of the stairs, and the one at the top), then add another 3-way switch at the top of the stairs to turn on/off the Loft lights, along with the existing switch in the loft that turned on/off the Loft lights. Then, I added a separate dim-able switch next to the original switch, in the Loft, to control the sconce lights. My wiring wasn't compete there... I also had to wire up 4 speakers by running 14 gauge speaker wire through the attic. But, it was all a success!

This picture shows where I removed baseboard, and cut the carpet for where the base of the column would go. A friend suggested I drill pocket holes into the base and top of the column to tether them to the wall. That idea worked out great!


Adding back new baseboard, this gives the column a permanent, finished look.

The project was a learning experience for sure! First time using a router, first time using finish/brad nailer air guns. In fact, my first attempt with a nail gun didn't go so well. I ordered a set from Home Depot, 16 gauge Finish Nailer, 18 gauge Brad Nailer, 18 gauge Stapler, 23 gauge Brad Nailer. I started with the 16 gauge, and to my ignorance, put Brad Nails in a Finish Nail gun. To my surprise, the first nail would shoot out, but the second wouldn't. So I though I had a jam. Well, the instructions say, if you have a jam, disconnect the air hose. So I did, but that causes the Brad nail to shoot out, and well you probably guessed, I shot myself in the thumb. Yep, it went in one side, then out the other. Fortunately it wasn't too deep, and I was able to pull out the nail.


Subscribe to:
Post Comments (Atom)
That looks really good! Kinda surprised you didn't paint the wall first, though...
ReplyDeleteThanks Amanda! The problem with painting first is that putting up trim work, and crown requires A LOT of caulking, and all of that to fill in the gaps ends up messing up the walls. Even the process of putting in the columns causes the columns to get banged up, so their will be touch up paint there also. We'll need a lot of painter's tape that is for sure!
ReplyDeleteWow and double wow! Amazing what a great design and a lot of work can do... Next up: Architectural Digest!
ReplyDeleteI swear I was following you at some point, but somehow I have missed all of this amazing work you did to your home. I will now spend a few hours catching up and “borrowing” ideas. Everything looks stunning!
ReplyDeleteGood to see you colette! I've been mulling over a few ideas from your work also ;-)
Delete