Monday, December 1, 2014
This One is Real - Coffer Complete!
Holy smokes! Be ready for a ton of pics to show in this post. I am practically in disbelief that I was able to pull this project off. Have to say we are completely blown away with this coffered ceiling!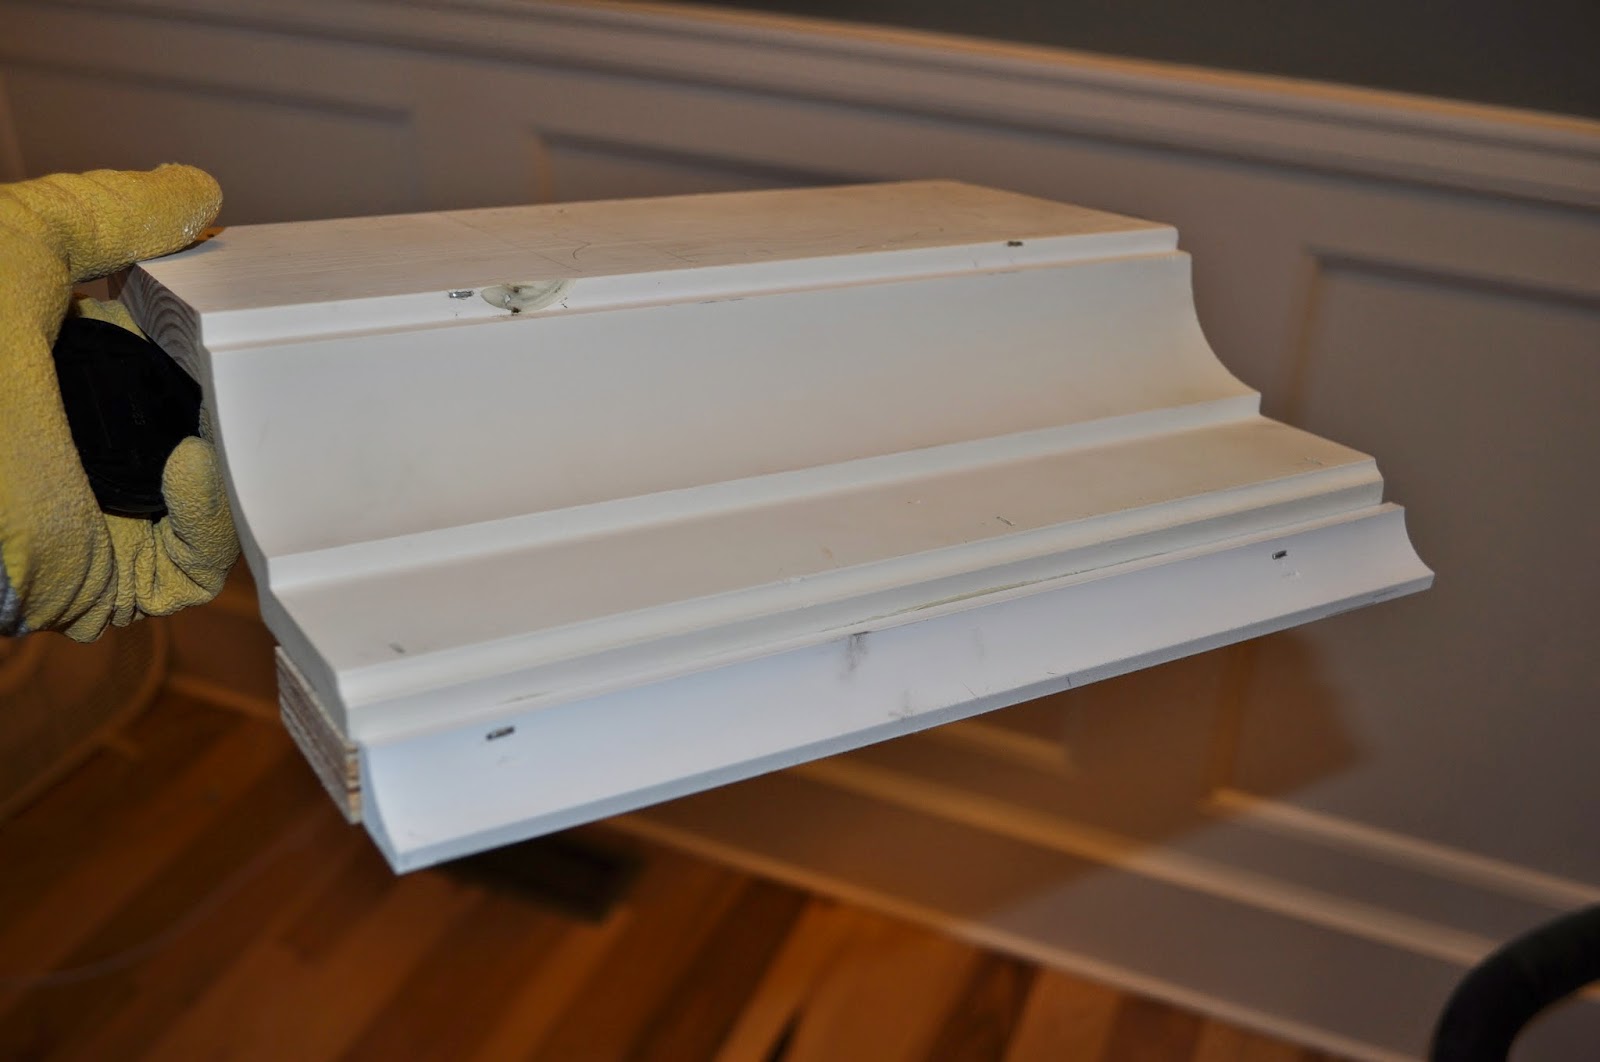 |
| Here is a template of the crown build-up I planned to use. |
 |
| There was actually a 2x4 stapled on to the back by my fingers, but I tore it off before taking the picture. |
 |
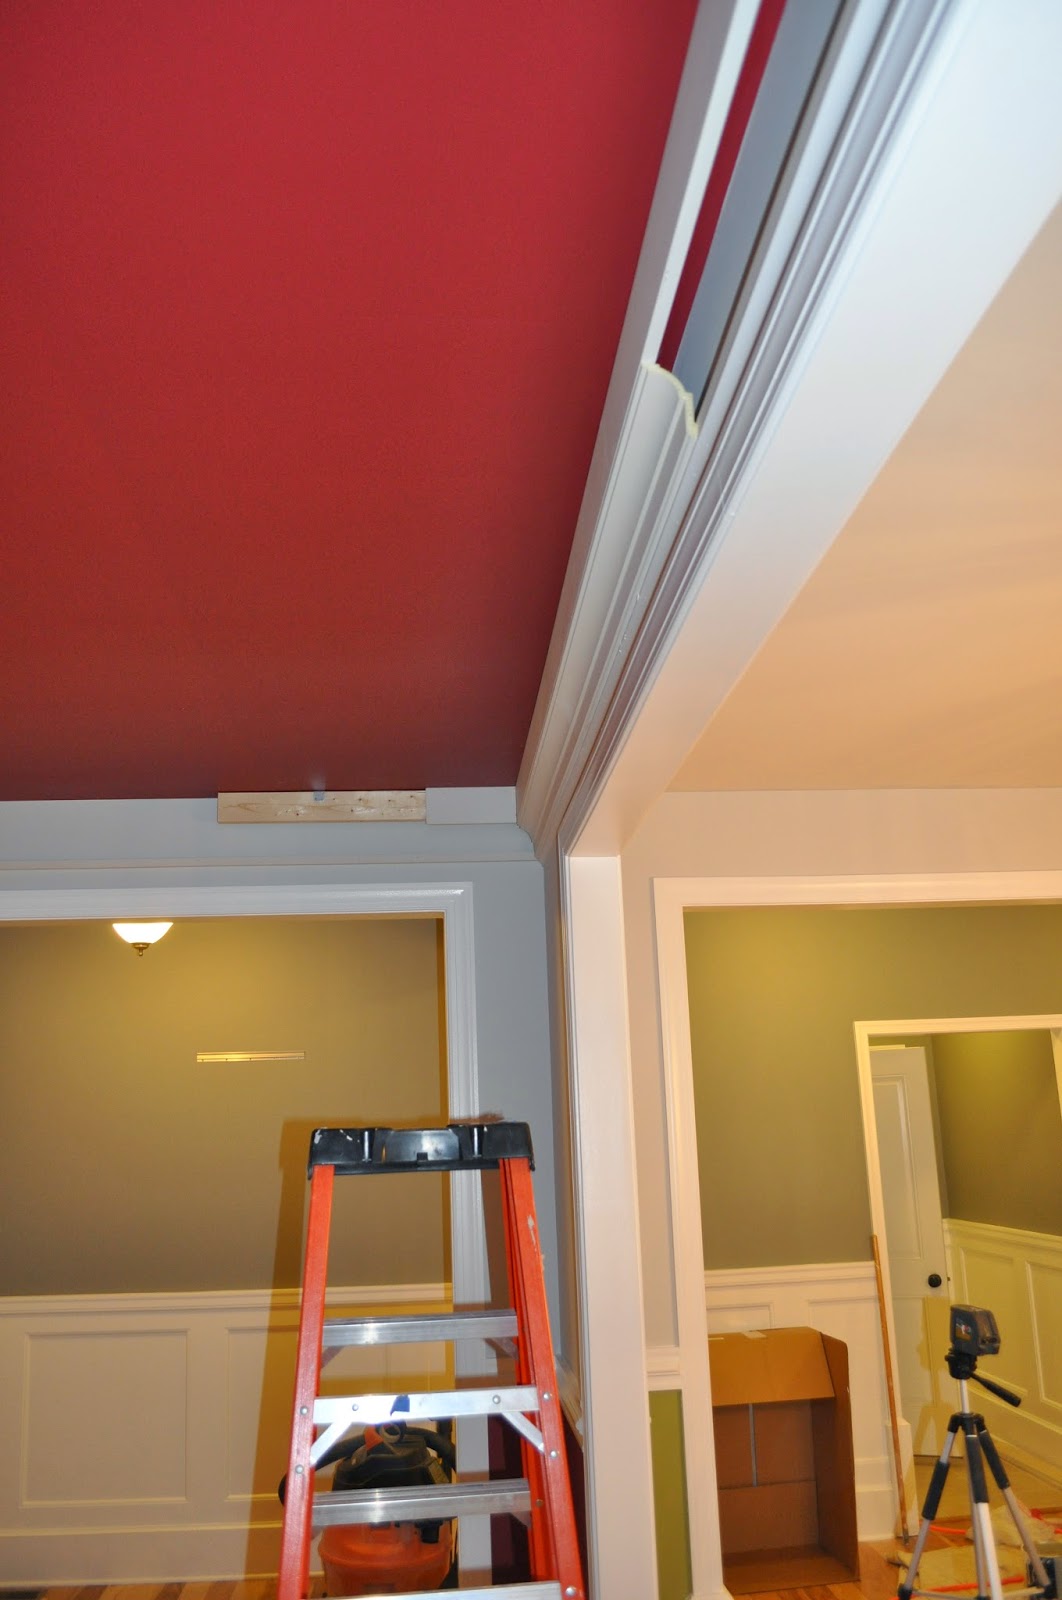
| I cut 3 ft. length 2x4 studs, and used metal brackets to fix to the floor joists in the ceiling. |
 |
| The vertical board is 4 7/16" width run through my table saw. It was cut from a 5.5"x12' MDF plank. The leftover piece I used as a build-up base to nail the 3/4" cove at the base of the coffer. |


 |
| This is a good shot of the profile of the crown build-up. With 12' MDF planks, I could run within a couple feet to the other side of the room, and using my 18 gauge brad nailer, nail the plank into the 3 ft 2x4 on the other side. |
 |
| This outlet is wired to the wall switch. I hijacked that to feed electricity to the 4" gimbal recessed lights, I planned to install above. |
 |
| Using a fiberglass "fishing rod" I pulled the 2-wire down the inside of the wall from a hole I made up top (to be covered up by crown). |
 |
| Here you can see the hole where the electrical wire comes out. |

 |
| These are the recessed lights we chose. The have a nice brushed steel bezel, and are designed for existing installation. We got them at Lowe's. |
 |
| Preparing for marking the location of the coffers. |

 |
| By taping, I am able to assess where the coffers are going to go, and whether their spacing is appropriate for the room size. |
 |
| I was going to just use the tape for placement of the MDF cross boxes I built, but the tape was cheap HDX stuff from Home Depot and it all fell off the ceiling by the time we got home from a short visit to some friends. |
 |
| These are the cross boxes I built to support the vertical MDF planks, and the pine coffer base. |


 |
| Conduit added to reduce chance of a nail penetrating the electrical wire. |
 |
| Here I have my first cross box installed. I used 6 wing-nuts each box to secure to the ceiling. |


 |
| Oops! Major screw up here. |
 |
| Whew! All better. |
 |
| First recessed light installed! I wired it up to ensure it worked with the wall switch. |
 |
| Using the coffer, I could run wire to a location in the ceiling where I could pop back up between two floor joists above, in order to get to the 4" hole cut for the recessed LED light. |

 |
| Now two installed! |


 |
| I used a solid piece of pine for the base boards of the coffer because I thought the MDF was going to possibly sag over time, if hung horizontally (it's super flexible). Plus, pine planes down nicely to get the 5/8" thickness needed for the profile I desired. |


 |
| All base boards installed, I finish by installing more 4 7/16" vertical MDF. |
 |
| I actually ran out of conduit on Thanksgiving Day, so I couldn't finish all the vertical MDF work until Black Friday. |


 |
| Quick check with all lights actually recessed into place. |
 |
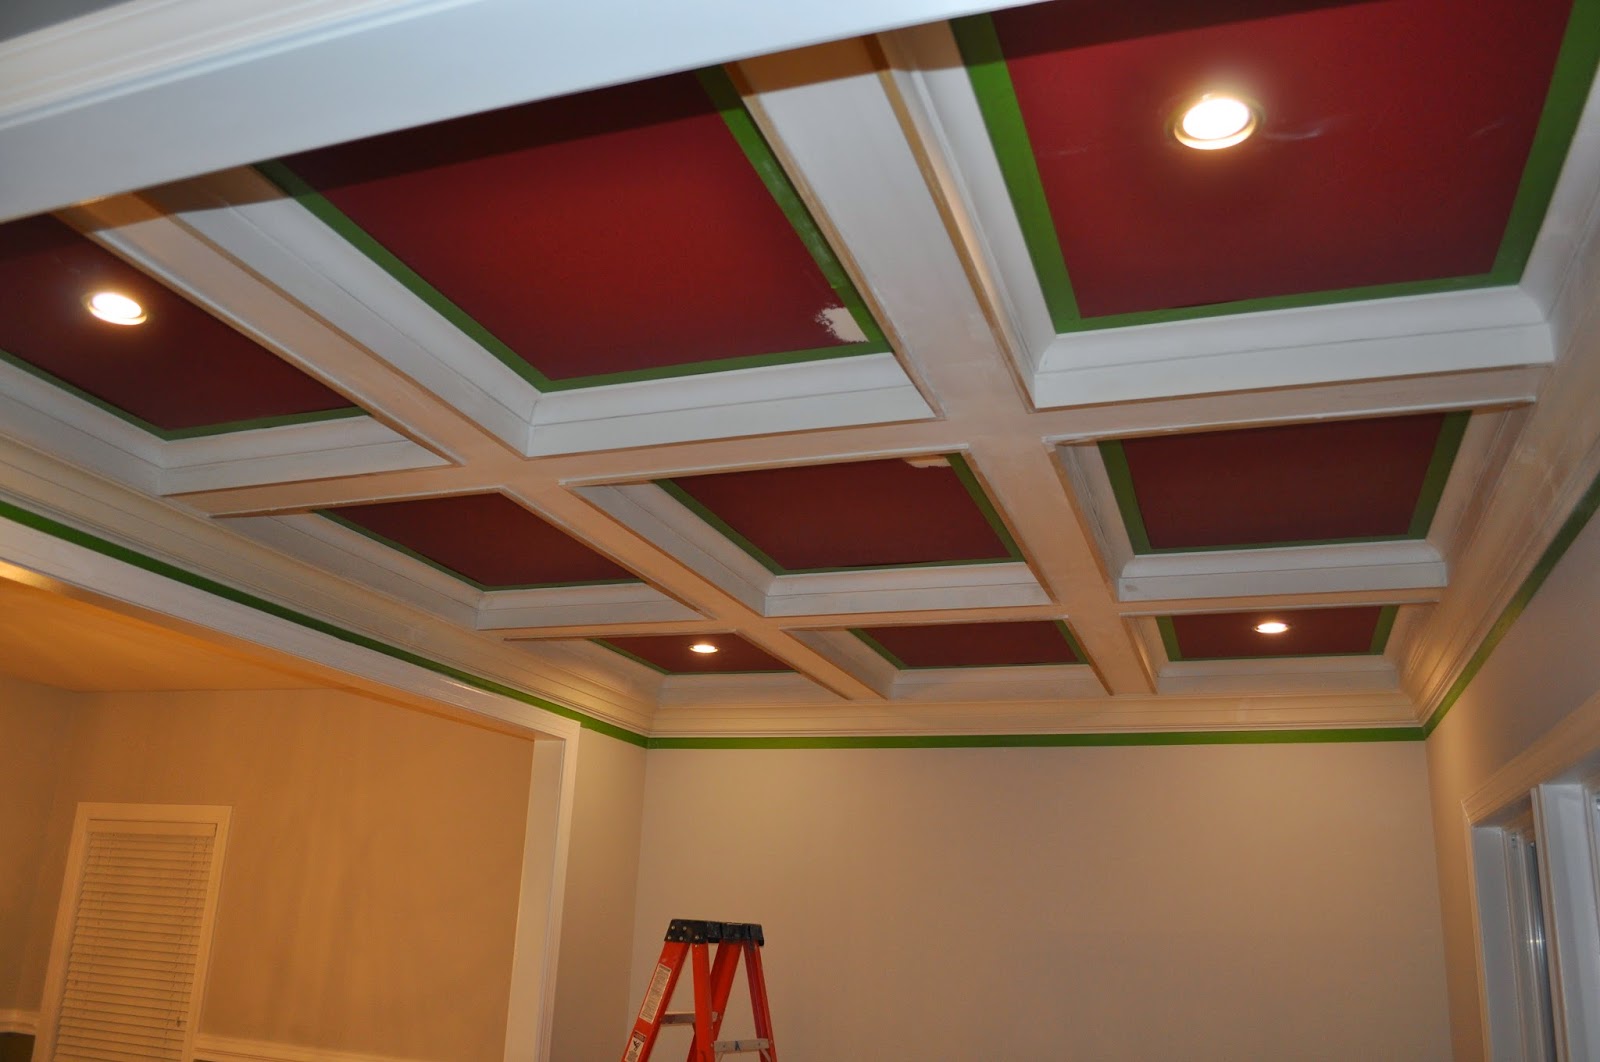
| Let the taping begin. |


 |
| I banged a few holes in the ceiling (and scraped my finger up pretty bad once) with my hammer. Gotta patch that! |


 |
| All painted! |


 |
| This is a nice picture I think! |


Subscribe to:
Post Comments (Atom)
Wow!!! Amazing!!! Very pretty!
ReplyDeleteVery nice!!
ReplyDeleteWow, that looks awesome! I should have done something like that with my dining room. Just an FYI, ENT, electrical non-metallic tubing, aka smurf tube, is not rated to provide physical protection for wiring. Judging by the work you do, I'm sure you were careful not to hit the wiring with any nails, but in the future you might want to consider MC cable if you are looking for physical protection for the wire. Keep up the good work! I have gotten some great ideas from your blog!
ReplyDeleteOh my gosh... you did an unbelievable job! I absolutely love it! About how many hours did this project take to complete?
ReplyDelete