Recent Post
Monday, September 22, 2014

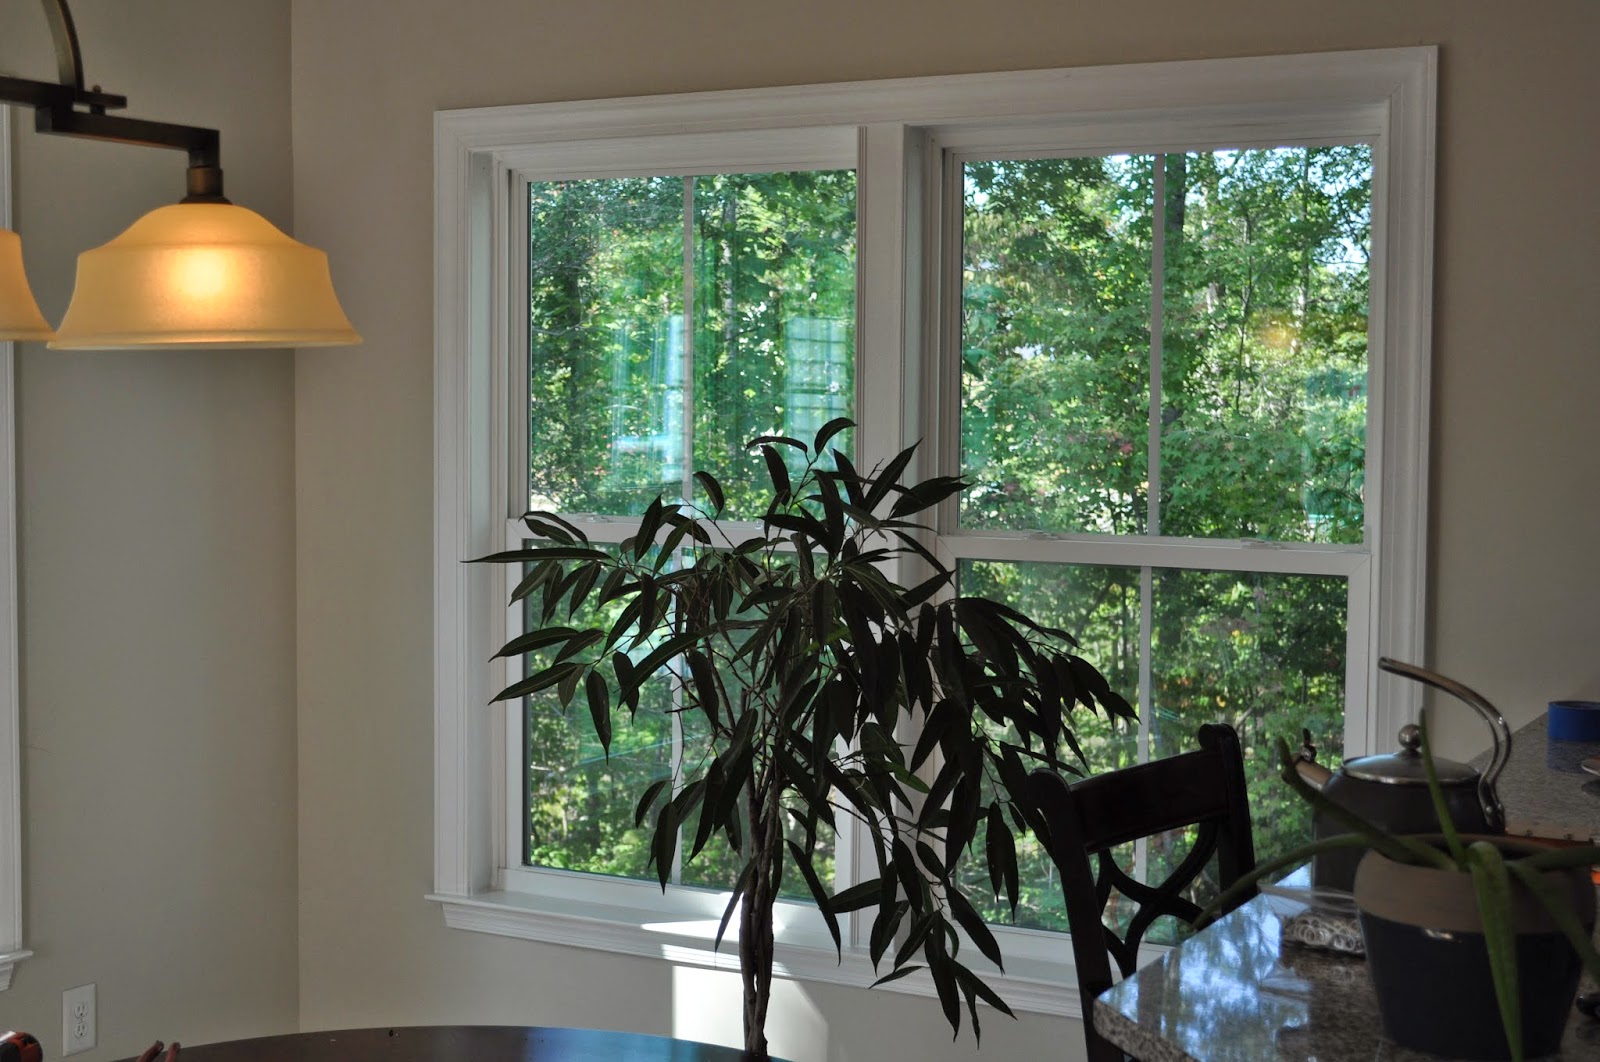
Window Casing
This weekend, we were getting ourselves another step closer to adding a back-splash to the kitchen. With that, we went to Lowe's to get ourselves some pre-primed, pine 3 1/2" window casing. For those of you who have Romes, you were probably told that they weren't going to case your windows. At the time, when I was making the purchase, I didn't really know what that meant, and probably if it was explained to me, I waived it off as non-essential. Who knows, maybe Ryan Homes offers window casing for there more up-scale models, I don't know?Regardless, I am sorta glad it wasn't included, since the casing I want is an inch larger than the casing used on the doors--same profile, just wider.
Some might think that it might look funny, since technically the casing doesn't match the doors, but I think it is close enough, and the extra width still fits within the window sill base, and gives it a touch more of a craftsman feel (just a touch).
Our plan is to case all the windows, but for now just the morning room, and also the entrance to the morning room. Casing the windows in the morning room, though, posed one question for me... how would I go about trimming the middle spaces between the windows? I didn't want to just leave it un-cased, as I thought that would look awkward. So, while at Lowe's we looked at small 8 ft. trim pieces with a profile that would allow it to edge up to the small side of the window casing profile. We used a little glue and a 23 gauge nailer/pinner to fix them in place.
As of this writing, I haven't completed casing the entrance way to the morning room. But that will be next.


Saturday, September 13, 2014

Kitchen Enhancements
This week Crate & Barrel was having their annual sale on lighting. I've long had a crush on their Dumont Pendant lamps. Unable to resist the temptation any longer, I ordered two of them for our kitchen.
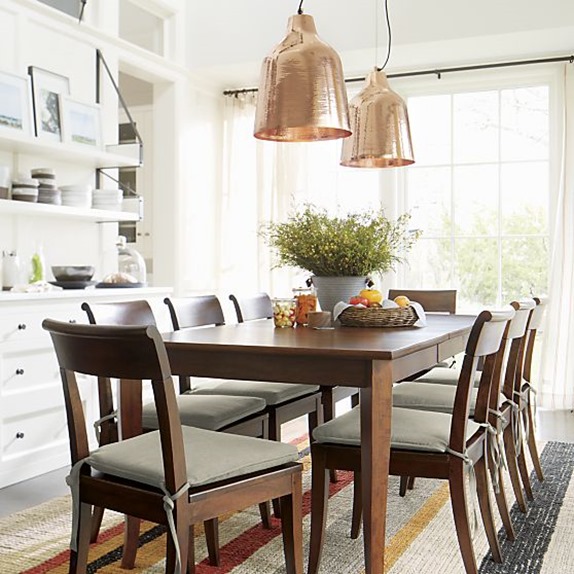
It's the copper! Copper is an gorgeous natural color, and the beaten effect makes these lamps mesmerizing to look at, both on the outside, as it reflects other colors in the living space, but even more mesmerizing on the inside, when the light shines brightly.
The lamps are HUGE, so their is statement factor with them. The space has to be right for them to work out, but with our wine colored kitchen, they really add dimension and warmth.
In addition to these pendants, I replaced the 750 lumen, warm white, CFLs Ryan installed (which were OK, but made the space feel too dim), with 800 lumen, natural light, LEDs. For the Dumont Pendant lights, I bought 1,100 lumen, soft white LEDs (100W equivelent) and what can I say... WOW!!! The gourmet island we have, is now at center stage, and a true work space with those pendants shining down amply.
For the installation, I was able to research on some original pics I had take of the floor joists, during construction, prior to the dry wall phase. These pics were helpful, since they gave me some level of expectation for bathroom plumbing placement, from the upstairs baths.
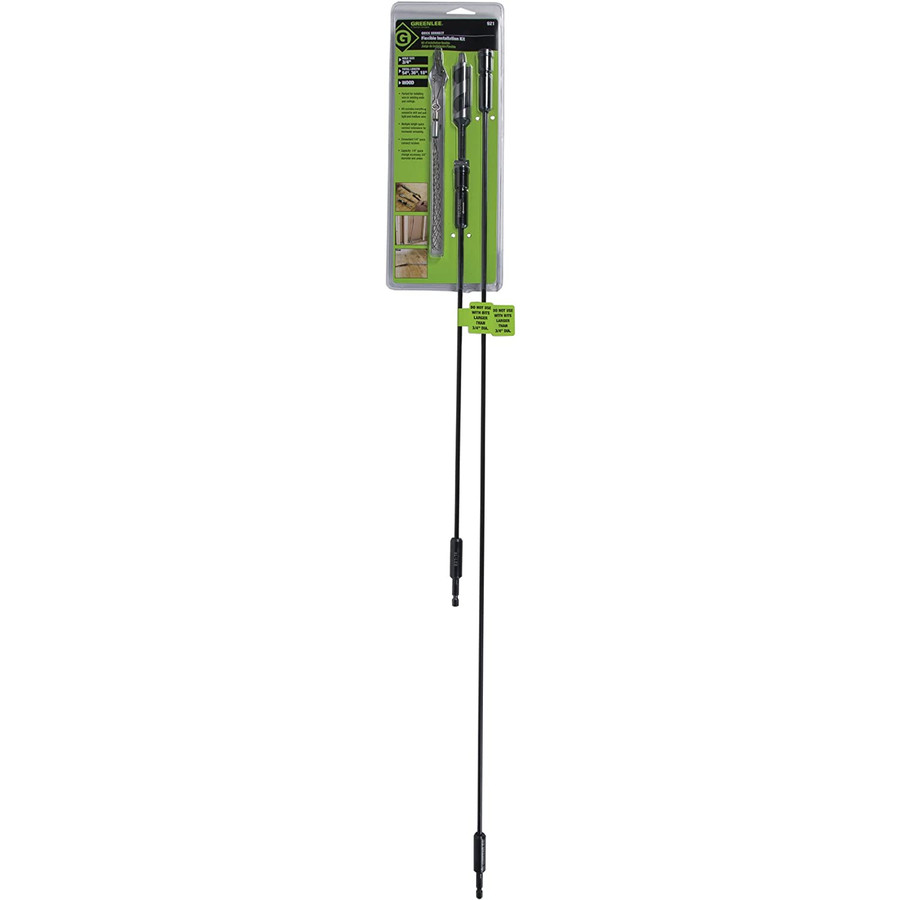
I leveraged the electrical wiring for the farthest out recessed light, for the first pendant installation. This required drilling a hole through the nearby floor joist, which I used a flexible bit extender for the job.
Also, to minimize drywall damage, and to ensure a secure electrical box installation, I used these anchors... very handy!

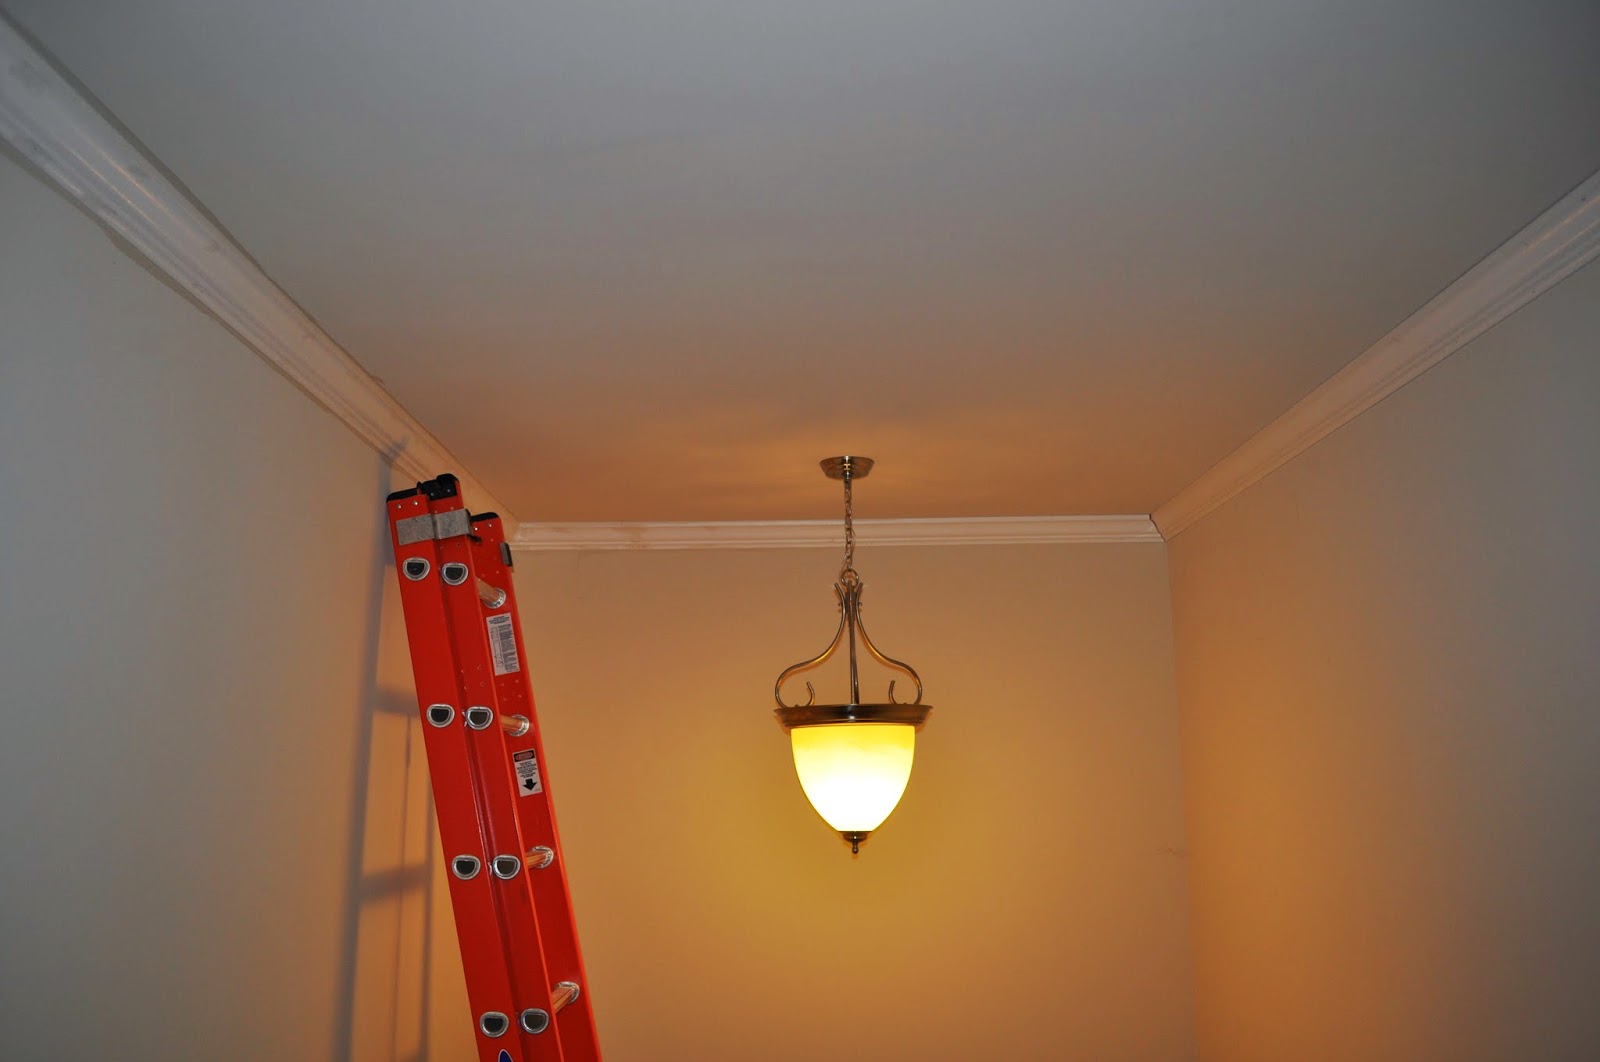
And here are some pics of the process and result: Enjoy!

The ceiling brace is hand adjustable, so once it is placed in the hole, you twist the bar until it is tight.

Here is what I used to drill through to the next space, to run the electrical wire from the recessed light.

An empty margarita glass? As much as I would like to drink on the job, I used this to mark a perfect circle for the hole.

This pic shows what an electrical box for the recessed light looks like. I ran a two-wire into it, then tied it to the existing wires to draw power for the pendant.

Hole for the recessed light, hole for the pendant.

The pendant hole, wired up and ready to go.

One down, one to go...

Stunning, yes/no?

So, our next project will be adding a back-splash tile. I was pretty worried this would be an expensive DIY, but we really lucked out here. Both myself and my SO saw a cheap tile, $4.99/ sq ft that we fell in love with, and will perfectly compliment to copper we are trying to express in our kitchen.
Expect more on that later ;)
Wednesday, September 10, 2014
.png)
.png)
.png)
.png)
.png)
.png)

Monday, September 8, 2014

The Stairwell
When I built up the columns in The Loft, then added a couple more smaller ones to case The Linen Closet, I started to get the feeling The Stairwell was feeling left out.Houzz.com has a number of very stunning images of stairwells, so I feel no shame going there to get some ideas. For starters, the banister I paid extra for, is ugly. I can't believe paying extra for it, over a capped wall was a thought in my head. Now, with the idea of trimming the area, a capped wall doesn't seem so bad, but in truth, I plan to keep the baluster approach, but give it an overhaul.
Some of the thoughts I had going into the design stage are as follows:
- We plan to add hardwood (diagonally) in the loft--probably a dark Hickory to offset the natural hickory we have downstairs.
- We want a more craftsman banister, wrought iron balusters, and square newels, all dark stained wood, espresso color to match prospective hard wood, and white sides
- Should tie in The Loft, so it does feel left out
- Should not feel cramped, since the space is small as it is
To get an idea, of course I went to a 3D CAD program, Sketchup. Chief Architect, wouldn't do so well because, while it does support stairwells, doesn't do so hot for vertically faced trim work, especially in confined areas. And while Chief Architect is great at automating a ton of detail, including stairwells, Sketchup is proving better at complex spaces. Of course, I had to take a ton of actual measurements to get The Stairwell close to realistic.
Here are a few starter images showing my progress:
First Flight:

Second Flight:

Trim Work:

Wainscoting:

Newel + Baluster:

OK, not all the details are added, but it's a start. Here is what it all might look like (excuse the lighting, I have yet to learn how to dial that in).


I might replace these pics down the road when I get in tweaked a little better.
Thursday, September 4, 2014

The Results are In
I posted some pics to FB, for friends, but forgot to post them here for anyone who might be interested. We plan to get some new furniture, over-sized, charcoal-gray, L-shaped, chaise lounge, sectional couch, or something, and some accent pillows to pull it all together. An of course, Phase II needs to be started one day, but for now, it's a lot better!


Subscribe to:
Posts (Atom)