Recent Post
Monday, August 25, 2014

A Little Putty, A Little Paint
As my good neighbor says... A little putty, a little paint, make it look like what it aint!This last week I finished the crown throughout the upstairs, including all the caulking. By were there some serious flaws in the squareness of the room! I really should have complained, but 1) we all know what Ryan Home's file cabinet that ends up in, and 2) I don't have time for that whole mess. I made due with what I had.
Having some neighbors over, we got to talking about the paint colors we were planning on. Definitely a dark blue color for the Loft area. Probably a stone, slate, taupe, tan color for the rest of the upstairs. But, one of the concerns raised was having to adjoining walls being painted a different color. We didn't like this idea, and our neighbor suggested we divide the corner with some trim work.
I stewed on this a day or so, and took my ideas to Chief Architect.

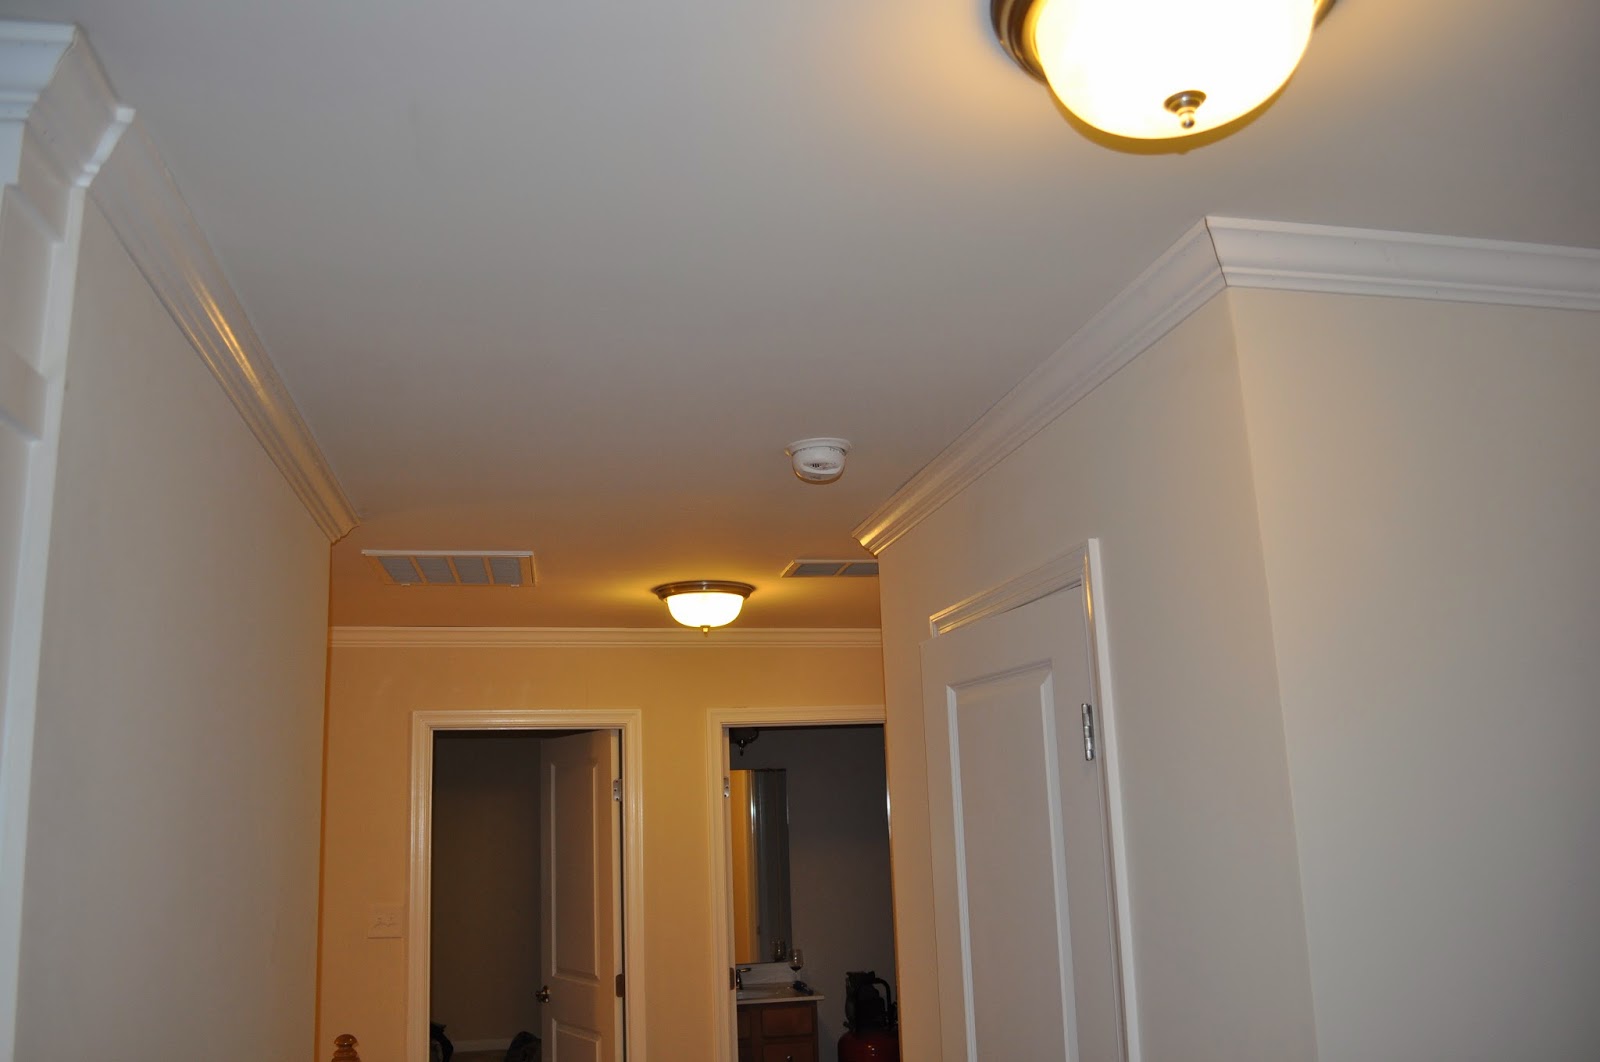
In the picture above, the area where I was having a problem with colors touching was on that corner wall where the Linen Closet is. The tan color, would have been touching the blue color. Can't say I was a fan of that. So in Chief Architect, I began drafting up trim work to match the columns. Pretty incredible results, I thought, but to be sure I passed the render around to some friends to get their thoughts, 1) if they liked it, and 2) how it might be built.
Unlike building the other column, which were all pre-fab, in my garage, these I built piece-by-piece against the wall. EXTREME exhaustion, as I must have went up and down the stairs, over 100x yesterday putting the plan to action.
Before getting started however, I relied on another tool, Google SketchUp to get me some exact dimensions.


Then, with my 18 gauge brad nail gun, I began tacking up the pieces.
Right Side


Left Side


I've got a couple more pieces of crown to put up, then a lot of putty and paint. I hope to start painting the walls this week!
Friday, August 22, 2014

Turn that Crown Upside Down
It's not just a pun, it's a mnemonic meant to keep one from screwing up when cutting pieces of crown molding. These past couple days, I've managed to get a fair chunk of the work nailed up. Definitely not something I've ever done before, and to some extent it shows...- Cuts too short
- Angles don't line up
- Shot a nail through my thumb
That's right, a nail through my thumb, well actually I got lucky in that it didn't penetrate deep, rather it went int maybe a millimeter or two beneath the skin and emerged out the other side. I am pretty sure it's user error. I ordered a nail gun kit from Home Depot:

The four guns set me back just $100, so that seemed like a good deal, plus I could use all of them in various projects, I figured. Not knowing my @ss from a brad nail, finish nail, or really anything about nail guns (except that I think I needed either the 16 gauge or the 18 gauge for crown molding), I managed to insert 16 gauge brad nails into a 16 gauge finish nail gun. After firing one out, I thought nice, how easy! But then the second one wouldn't fire. Thinking I had a jam, I disconnected the air hose. This causes the second brad nail to shoot out, through my thumb. Can't say I've won any Darwin awards yet, but I sure was trying!
I realized I didn't have any 16 gauge finish nails, which the picture above deceivingly suggests I did, I turned toward the 18 gauge brad nail gun for all my work. With 2" brad nails, I was rocking and rolling. Also, worth pointing out, the 18 gauge brad nail gun has a safety action on the nose that won't fire the gun unless it is pressed up against something, whereas the 16 gauge doesn't have this feature.
Here are some pics of my work so far. Keep in mind, there's a lot of caulking involved! Some of the pics have it, some don't. All in all, after it is all filled in, the boards will need to be re-painted, and then after that, the walls will get painted.


Tuesday, August 19, 2014

The Loft, Cont...
I've made some pretty good progress on The Loft. It's nearly ready for crown molding. The whole media console piece will have to come in a phase II, but I'm gonna need a break anyway.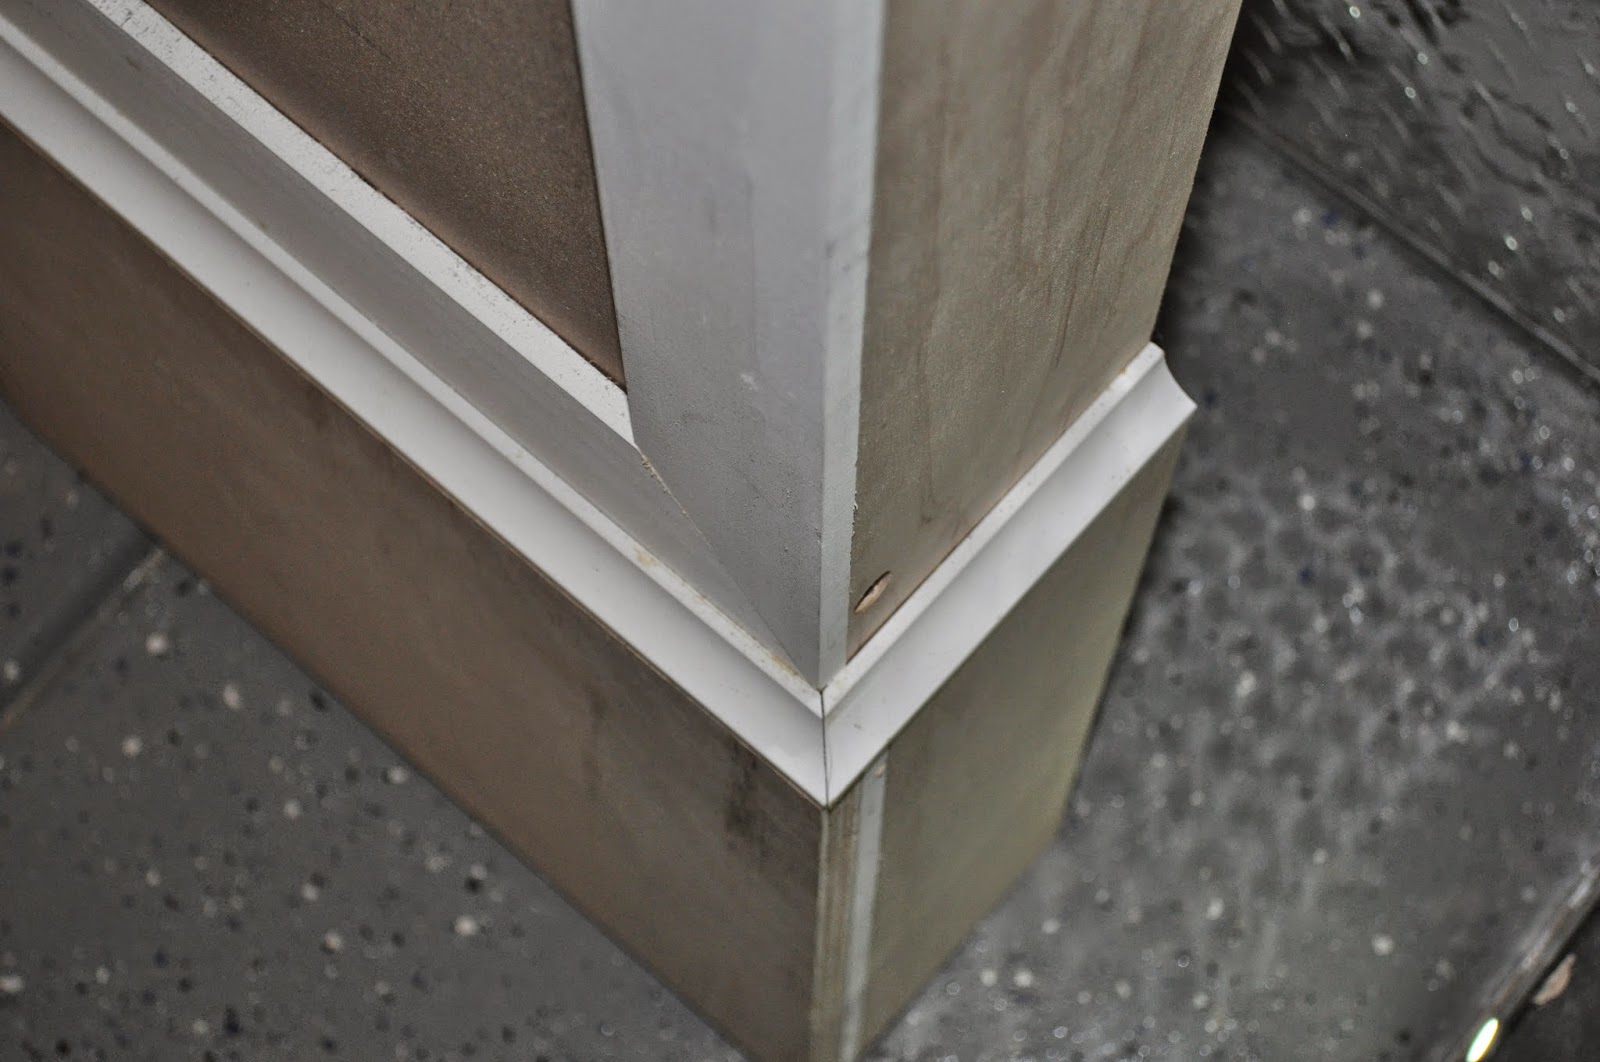
In the next picture, I needed to route a hole for the in-wall speakers. This is the first time I'd used a router, so it was a learning experience. The speakers came with a template so I could mark the hole, then the plunge router, with the right bit, would carve out the perimeter in a fairly straight line, with nicely rounded corners.


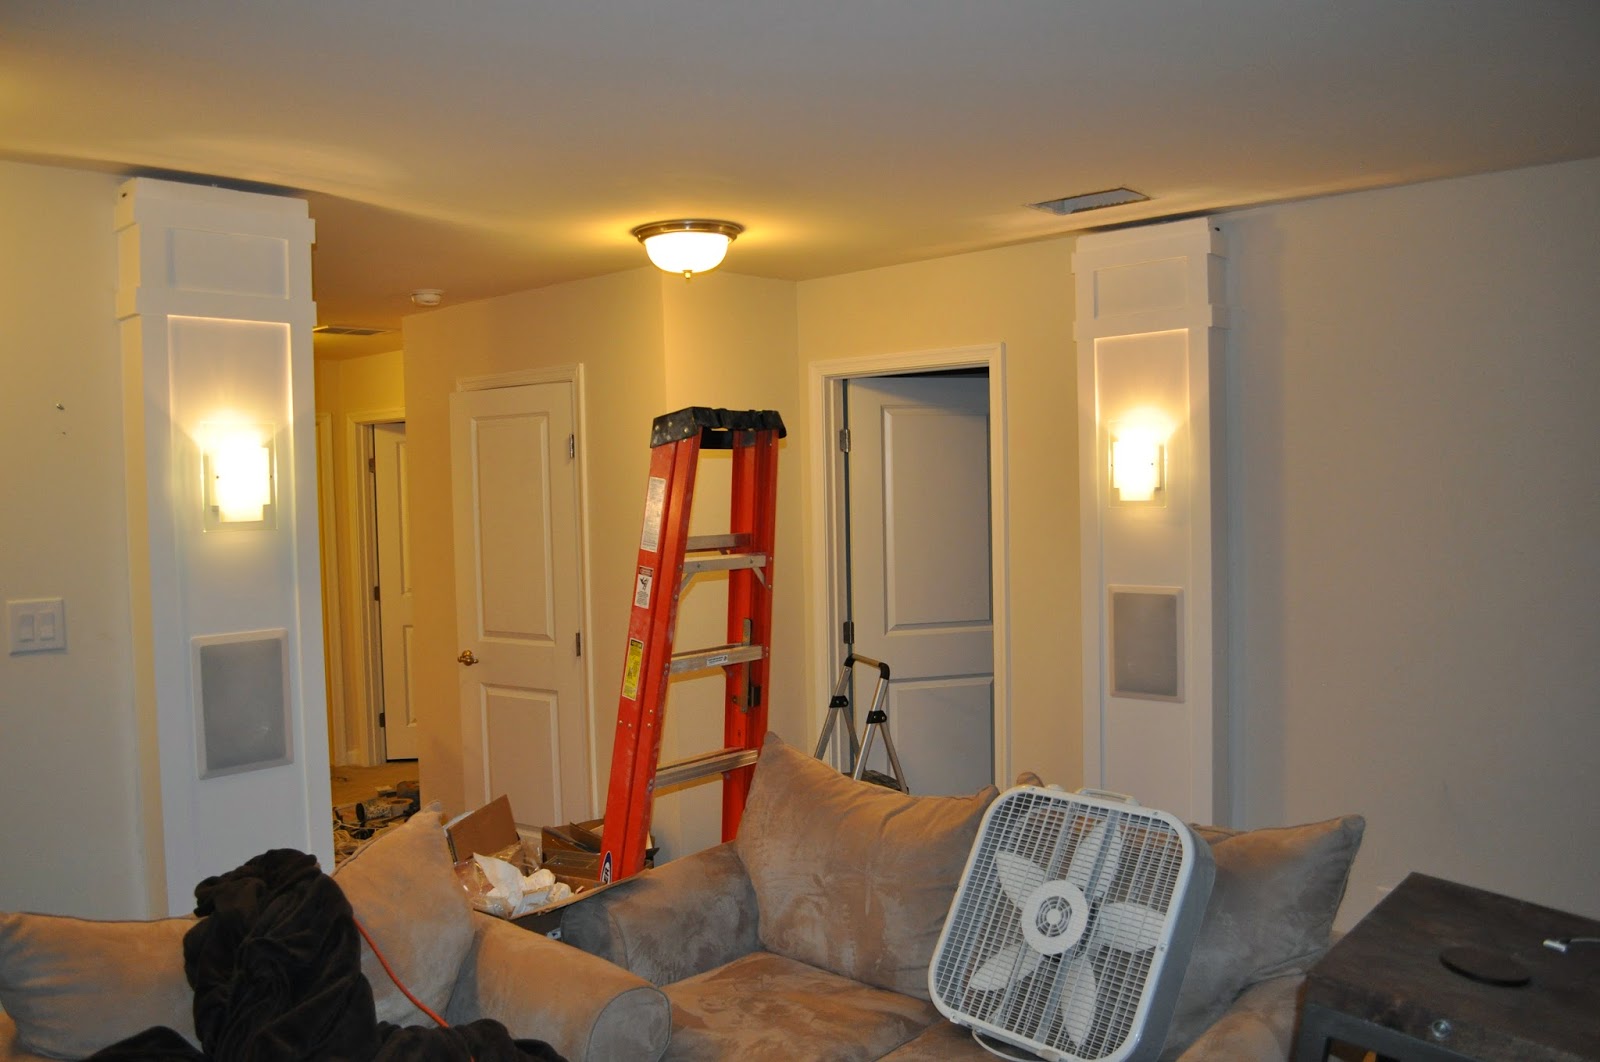
Here's me trying to figure out if the placement of the sconces will actually work. From the original Chief Architect render, this is about how high they were placed, perhaps even a little lower, but we didn't want to go too high, else they would crowd the upper trim and appear to close to the ceiling.

With all the holes cut, it was time to spackle in the gaps.


The next day I began priming, and the day after I began painting. Each column took 2-3 coats of priming and 2-3 coats of paint.


Each column fit the room within an inch of the ceiling. The gap was essential else you wouldn't be able to stand them upright. Once I was ready to put up the second column I realized I had a BIG problem. There are two ventilation ducts in the room, whose sole purpose is to balance out the pressure and temperature between this room, and the bedrooms on the other side. I had noticed the duct by the TV, but figured I didn't have to worry about that until phase II. But never really looking behind me, there was another for our daughter's play room. Moving a vent is not easy. After weighing out all the options, we decided to keep the existing flashing, cut it out from the ceiling, move it over to the next joist, cut a new hole, then patch up the original hole. The duct is connected by 8" diameter insulated tubing. I had to buy more at Lowe's because the existing tube was not going to stretch. The job took about 5 hours, and with the help of a good friend, we knocked it out.


Wiring was another monumental effort. The wall making up the laundry room had a single 4-way switch. This switch, and two others, one next to the stairwell, and one at the bottom of the stairwell, controlled 4 builder grade ceiling fixtures. Turning on/off any of these switches caused all 4 lights to go on/off. In our opinion, this was laziness on the part of the electrician. Why would you want the Loft lights to all come on, if all you are trying to do is walk up the stairs. Plus, if someone was watching a movie, then would be blinded!
So even before moving any of the columns up from the garage, I intended to break the two lights for the stairwell onto a separate switch (the switch at the bottom of the stairs, and the one at the top), then add another 3-way switch at the top of the stairs to turn on/off the Loft lights, along with the existing switch in the loft that turned on/off the Loft lights. Then, I added a separate dim-able switch next to the original switch, in the Loft, to control the sconce lights. My wiring wasn't compete there... I also had to wire up 4 speakers by running 14 gauge speaker wire through the attic. But, it was all a success!

This picture shows where I removed baseboard, and cut the carpet for where the base of the column would go. A friend suggested I drill pocket holes into the base and top of the column to tether them to the wall. That idea worked out great!


Adding back new baseboard, this gives the column a permanent, finished look.

The project was a learning experience for sure! First time using a router, first time using finish/brad nailer air guns. In fact, my first attempt with a nail gun didn't go so well. I ordered a set from Home Depot, 16 gauge Finish Nailer, 18 gauge Brad Nailer, 18 gauge Stapler, 23 gauge Brad Nailer. I started with the 16 gauge, and to my ignorance, put Brad Nails in a Finish Nail gun. To my surprise, the first nail would shoot out, but the second wouldn't. So I though I had a jam. Well, the instructions say, if you have a jam, disconnect the air hose. So I did, but that causes the Brad nail to shoot out, and well you probably guessed, I shot myself in the thumb. Yep, it went in one side, then out the other. Fortunately it wasn't too deep, and I was able to pull out the nail.


Friday, August 8, 2014

Starting the LOFT
So I am sick a waiting. Anxiously awaiting, putting off household projects for other life events, I could wait no more. This past couple weeks I decided I was going to start putting up crown molding (moulding?) and what better place that to start in the Loft, that place I previously rendered with Chief Architect, with stunning results.Desired result:

Actually, much like the garage effort, the inspiration to start came from a ridiculous sale on tower speakers at newegg.com. I couldn't possibly listen to these nice new speakers in my loft without having the ambiance to go with.
Off to Lowe's.
My first trip I ended up with a contractor's pack of crown molding. I wasn't going glitz in the loft with the crown, rather I wanted to bring a level of architectural interest into it with the columns and the sconce lighting as is revealed in the render above.


Crown painted, but it cannot go up before the columns. So let's start framing those out.


Each column is taking about 3 days (after work) to build up. The sconces don't actually match what I picked for the render, but we found these for < $30 at Lowe's. I think they will do.

I've got two complete, only 4 more to frame out. Once they are all built, I will prime them, then paint them a semi-gloss white, to match the same paint used in the crown molding.
Oh wait, there is more! So the speakers I purchased. Well, that got me to wanting 7.1 channel surround sound in the loft, so I decided to also fit each column out with in-wall speakers. So, just below the sconce, about sitting level, I will route a square hole for placing 8" in wall speakers designed by Micca.

Amazon reviews really spoke well of this speaker, and the cost is incredibly less expensive than more popular names. So I have high hopes.
I'll post more later!
Subscribe to:
Posts (Atom)